Dismantling a Epson V33 scanner
Jump to navigation
Jump to search
Sometimes the underside of the glass of a flat-bed scanner gets dirty. Here follow instructions for how to clean it on a Epson V33 scanner.
Steps to dismantle the scanner
[edit | edit source]| 1. Open the lid and remove the two case screws | 
|
| 2. Close the lid and, keeping the device right-side-up (with the hinge side is away from you), click open the hinge side first. Note that there is a small clip just under the power button that needs to be freed at this point (it doesn't take very much force). The whole hinge side will now be free. | 
|
| 3. Open the case about 40 mm. It is now attached by five plastic tabs along the side opposite the hinge; three of these are clips and need to be freed. To do this, slide the top of the case towards you, disengaging these three clips. |  .jpg)
|
| 4. The top half of the case will now lift free from the bottom. |
Cleaning the glass & mirrors
[edit | edit source]Clean the glass with a non-abrasive cloth. Methylated alcohol is a good solvent to clean off any smudges as it will evaporate completely.
The light and mirror assembly can also get dirty, and can be cleaned with a small microfiber cloth.
A test scan can help highlight dirty areas. Skew colour levels far up to see the differences, for example:
-
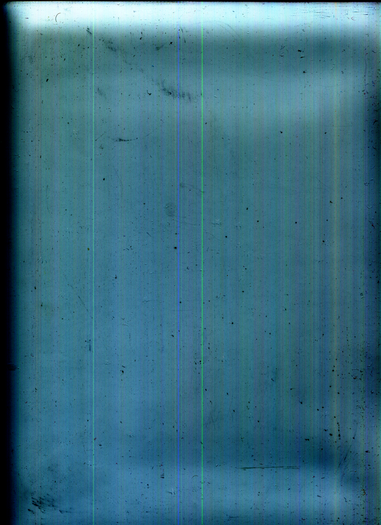 Before.
 -
 After.


Re-assembly
[edit | edit source]Putting the scanner back together is the reverse of the above steps.