Drill Press
Jump to navigation
Jump to search
Safety[edit | edit source]
- Learn what you can about your machine before attempting to use it. You could start by reading the manual for a very similar drill press
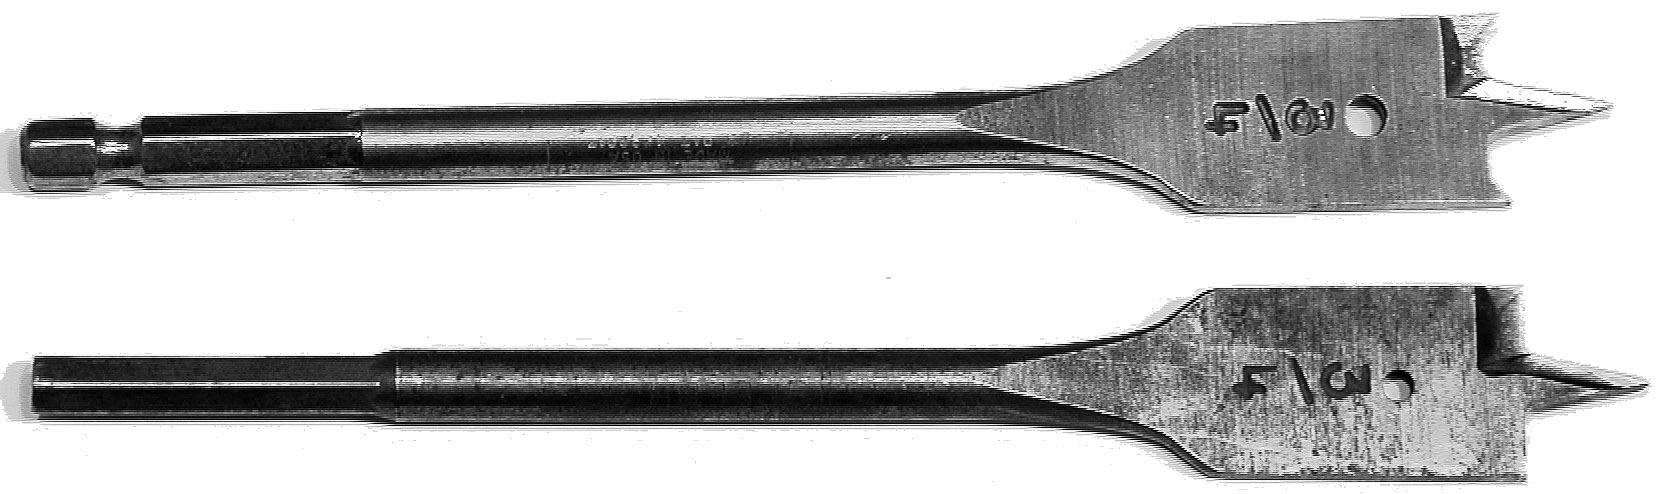
- Use the right tool for the job. Drill bits come in a wide variety of shapes, sizes and materials. Resources available in the HCC lab include twist bits (for metal), spade bits(for wood), and masonry bits(for stone/brick/concrete).
- Use a full face mask, not just goggles, when operating this machine!!
- Do not wear gloves or loose clothing.
- Tie long hair back securely to prevent it from getting caught in the spindle
- Always focus completely on your work!. Do not talk to others, or let others talk to you.
Watch this humorous, but serious video to see some consequences of not following this section.
Prep[edit | edit source]
- Punch a mark at the location of the desired hole to help align the drill bit (add citation)
- Clamp your work securely to the table, for hands free drilling. Tools for doing so include [C clamps], [vises], and pieces of wood that can be bolted to the work surface through the [T slots].
- Do not hold the work still with your hand, even with using intermediate tools such as pliers. For an explanation of the reasons behind this, see one user's [failure analyisis] (6 stitches lesson)
- If the work is big enough to hit the column when turned all the way around, clamp it with the big part against the left side of the column [like this] (add a link to an image showing proper clamping) so that it won't turn even if the drill catches.
- Inspect drill bits for damage and wear before using them. Do not use damaged or dull drill bits. (add a citation)
- Tighten the chuck as much as you can by hand. Be sure that the drill bit is centered between all three jaws, not offset and held by just two. To confirm this, tighten the chuck on the drill bit, then by hand, turn the chuck and look at the point of the drill. The center should stay directly over the spot you wish to drill while turning, not move in a circle around it.
- Choose the minimum spindle speed that is suited to the job. If you need a different speed than what is set, request assistance from a lab aide or professor. Doing so will reduce the energy in flying parts, such as broken drill bits or chips. It will also reduce wear and tear on the drill bit. (find a citation for this. Might want to make it shorter.)
- Request assistance from a professor or lab aide if you need the speed changed.
Running the Machine[edit | edit source]
- Use cutting oil liberally and wear an apron if cutting metal
- Keep hands, fingers, etc. at least 2 inches from the rotating bit
- Do not try to clear chips with fingers. Turn off the machine, then use a tool.
- Always focus completely on your work!. Do not talk to others, or let others talk to you!
- If the drill catches and either turns or lifts the part, do not panic; With the operating lever, keep the spindle in the down position while turning off the power switch. This keeps the pat from falling off the drill bit and being thrown across the room.