Power Supply Testing/Tutorial on how to convert ATX Power Supply to lab power supply
Jump to navigation
Jump to search
- 1. Get a power supply.
- 2. Remove the shield.
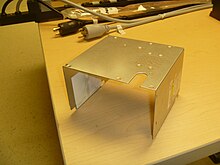
shield - 3. Drill 5 holes.
- 4. Put the 5 binding post in the five holes

5 bin posts - 5. Shorten the length of the wires.
- 6. Tape it with electrical tape.[File:Cables_fixed.jpg|thumb|center|joining the wires colors and taped]]
- 7. Get one long wire of each cable.
- 8. Connect it to the rest of the wires.

long wire connected to rest of the wires - 8. Remove the gray wire.

removing the gray wire - 9. Remove the purple wire.

removing purple wire - 10. Tape it with electrical tape the remaining pieces of both gray and purple wires.

gray wire with electrical tape 
purple wire taped - 11. Strip the long wires and connect them to the binding posts.
- 12. Solder the wires.

solder wires - 13. Close the power supply.
- 14. Turn the power supply on.
- 15. Test if the power supply works.
- 16. Get the power cord

power cord - 17. Connect the power cord to the power supply

connecting the power cord to the power supply - 18. Get the multimeter
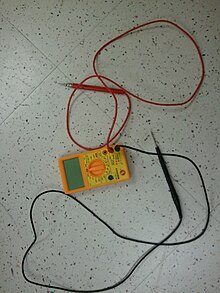
get the multimeter - 19. Turn the multimeter on to 20

turning the multimeter to 20 - 20. Place the black cord of the multimeter in the G binding post
- 21. Place the red cord on the 3.3 volt (the number may be +-2volts)

testing the 3.3 volts - 22. Place the red cord in the 5 volts (the number may be +-2volts)
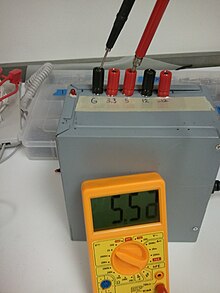
testing the 5 volts - 23. Place the red cord in the 12 volts (the number may be +-2volts)

testing 12 volts - 24. Place the red cord int the -12 volts (the number may be +-2volts)

testing -12 volts - The power supply works


